How to Write Family History That Lasts Generations
Learn how to write family history with a clear step-by-step workflow: research, interviews, narrative craft, and ethical choices that preserve every story.
You may be sitting at a dining table with three uneven piles in front of you. Loose photographs. An envelope of certificates. A notebook with names that almost match, dates that may or may not be right, and one urgent thought: I need to get this written down before more is lost.
That feeling is common. So is the next mistake. People try to write family history as if it's a single burst of inspiration, when it's really two different jobs done in sequence. First you gather and verify. Then you shape what you found into something readable.
That distinction matters if you want a family record that lasts. A good family history isn't just affectionate memory. It's memory supported by names, places, dates, documents, and preserved interviews. It's also a piece of writing. Readers still need a path through it.
Many guides help with prompts, interview questions, or building a family tree. Fewer show what to do after the boxes are opened and the recordings are made. That middle stretch is where many projects stall. People collect beautifully and write poorly, or they draft too soon and build a story on uncertain facts.
If you're learning how to write family history, the calmer approach is to think like a librarian, a researcher, and an editor, just not all at once. Work in small rounds. Keep a clear scope. Preserve the raw material. Then turn it into chapters with deliberate choices about what belongs in the foreground, what belongs in the notes, and what should wait until you know more.
Table of Contents
- Why Family History Needs a Workflow Before a Story
- Building Your Research Cycle and Source Map
- Conducting Oral History Interviews That Hold Up
- Turning Raw Material Into a Readable Narrative
- Handling Difficult Memories With Care and Accuracy
- Editing, Designing, and Preserving the Final Record
- Your First 30 Days as a Family Historian
Why Family History Needs a Workflow Before a Story
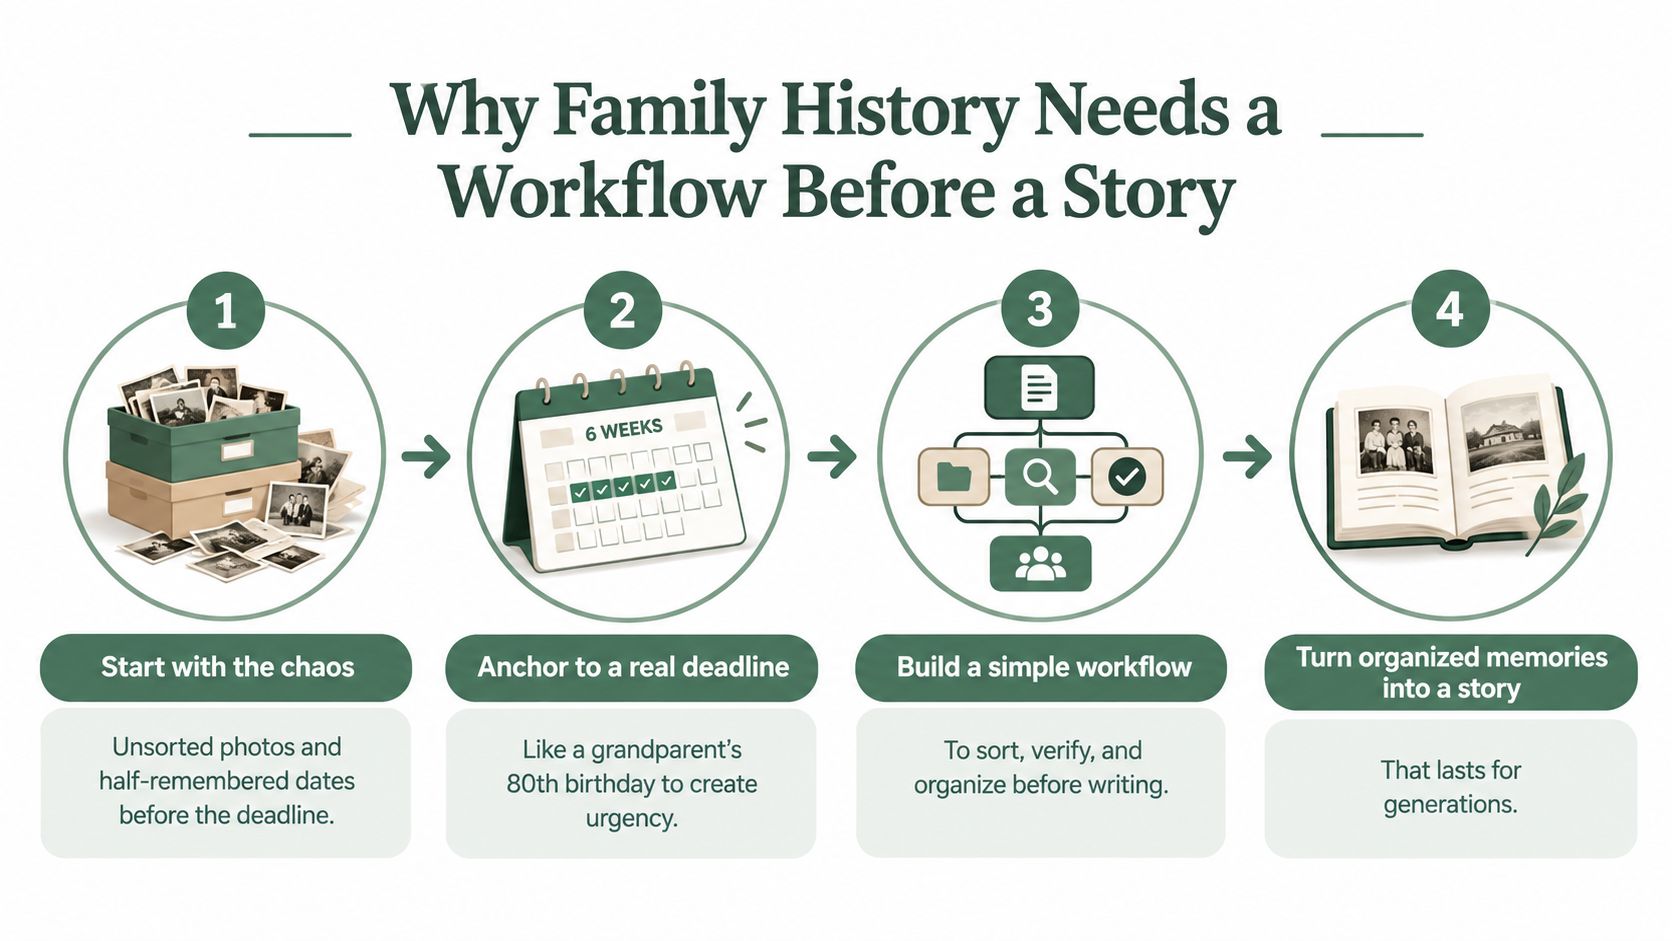
A family history project often starts with pressure. A parent's birthday is approaching. Someone is downsizing. Boxes have come out of the attic, and now the responsibility has landed on you.
That pressure can be useful, but it can also trick you into rushing. If you begin by writing chapters before you've set a method, you'll spend more time backtracking than drafting. The safer start is a repeatable workflow. FamilySearch's research guidance recommends a cycle: identify what you already know, define one specific research objective, search the easiest relevant records, evaluate and record findings, and then restart the cycle with the new evidence (FamilySearch principles of family history research).
Set a boundary before you set a deadline
The first question isn't “When can I finish?” It's “What exactly am I writing?”
A manageable project might be:
- One surname line from a grandparent back through earlier generations
- One time frame such as three generations
- One turning point such as a migration, war service, or family business
Write your scope in one sentence. Keep it visible. If you later discover a fascinating side branch, you can note it without abandoning the project in front of you.
A written goal also helps when enthusiasm turns into clutter. If your purpose is to create a short family book for a parent's birthday, you don't need every cousin's descendants before you begin. If your purpose is a full archival history, then you'll plan for a longer road.
Expect the failure points
Most unfinished family histories fail in familiar ways:
- Scope creep happens when one ancestor leads to four more.
- Perfectionism shows up when you refuse to draft until every fact is settled.
- Quiet dropout arrives after the first excitement fades.
Practical rule: Put the project on a calendar in small pieces. One interview. One folder. One ancestor. One page.
That rhythm is what turns family material into a finished record instead of another digital folder called “To sort.” If you need a gentle model for preserving stories in pieces before they become a book, the family story guidance at remembers.life is useful as a companion mindset.
Building Your Research Cycle and Source Map
Research doesn't move in a straight line. It loops. You ask a question, find one answer, discover a contradiction, narrow the question, and try again. That's normal. It's also why a source map is more useful than a pile of downloads.
A practical cycle looks like this:
- Choose one question. For example: Where did Anna Kowalska live before she immigrated?
- Search the easiest records first. Start with what's already in the family, then move outward.
- Log what you found. Record the claim, the source, and whether it seems direct or uncertain.
- Check against a second source. A single record can be wrong or incomplete.
- Refine the question. New evidence usually changes what you need next.
Four tiers of evidence
Different kinds of material answer different kinds of questions. A death certificate may confirm a date. A letter may reveal the tone of a marriage. A family story may preserve a place name that helps you find the actual record later.
| Evidence Tier | Examples | What It Confirms | Reliability |
|---|---|---|---|
| Documents | Birth, marriage, and death records; census pages; immigration papers | Core facts such as names, places, and dates | Often strong for factual claims, but still worth checking against other records |
| Records | Church books, newspapers, school registers, military files | Community context and secondary confirmation | Varies by who created the record and when |
| Artefacts | Letters, photographs, inscriptions, household objects | Daily life, relationships, visual evidence, family habits | Useful but often needs identification and dating |
| Inherited knowledge | Oral stories, repeated family sayings, remembered place names | Meaning, motive, memory, and clues for further research | Valuable as leads, but not always precise on their own |
Build a source map you can read a year from now
Use a simple table or spreadsheet with these columns:
- Ancestor
- Claim
- Source
- Source quality
- Confidence level
A source map keeps you from repeating the same searches and helps you see where your story is solid, thin, or disputed. It also protects you from one of the biggest beginner errors in how to write family history: putting polished sentences on top of untracked evidence.
Keep one active question per branch. If a second surname line opens up, park it in a separate tab or note. Don't let it pull you away from the line you're trying to finish.
For practical privacy habits while you're storing names, dates, recordings, and scans, this guide on handling personal data in family records is worth reading early.
A good first week goal is modest. Pick one ancestor. Write one question. Find one record. Log it before you collect anything else.
Conducting Oral History Interviews That Hold Up
A family interview isn't just a chat. It's a small oral history project. That shift in attitude changes the quality of what you get.
Best-practice guidance from the Oral History Association recommends preparing open-ended questions in advance, choosing a quiet location with minimal distractions, recording a lead-in that identifies the date, place, and participants, and then transcribing the interview afterward. It also recommends a chronological structure and sessions of roughly 60 to 90 minutes (Oral History Association best practices).
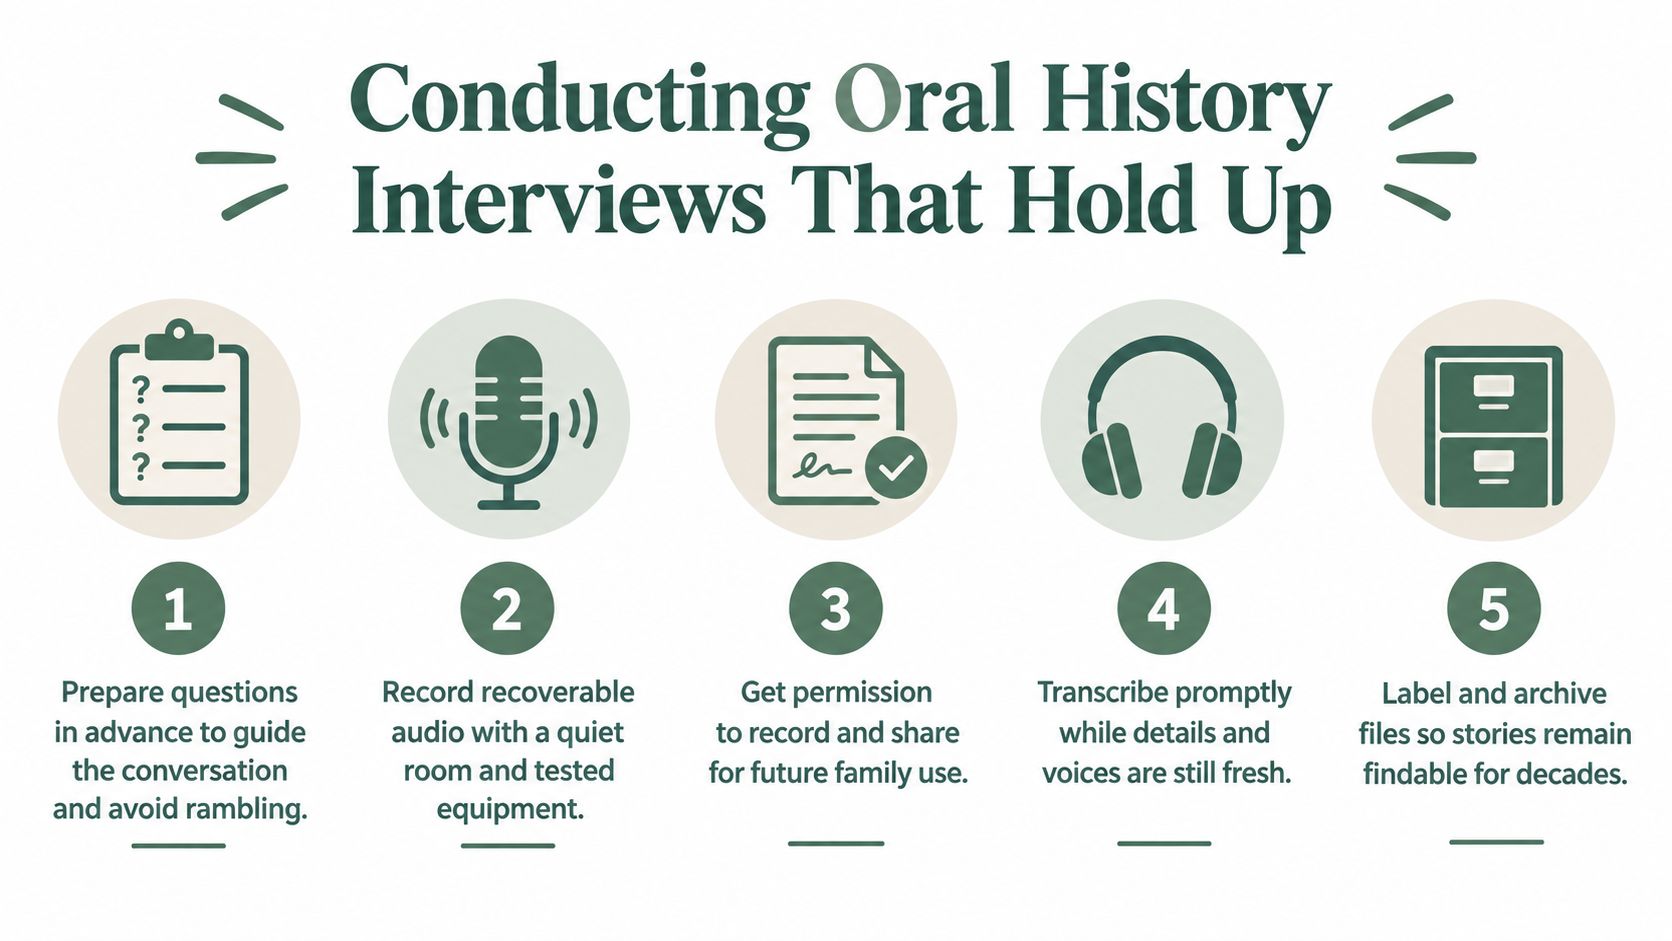
Prepare like a researcher, not just a relative
Before the interview, do enough background work to avoid wasting your subject's energy on facts you already know. Sketch their life by stages:
- Childhood
- Work
- Marriage or partnerships
- Moves and migrations
- Faith, habits, values, or community roles
Then build a question spine. Start easy. Ask about the house, the neighborhood, a school route, a first job. Once the person feels steady, move toward emotionally heavier material.
Closed questions are useful when you need exactness. Open prompts are useful when you need story. “What year did you move?” gets a date. “Walk me through the day you left” gets a scene.
Preserve the recording as a historical record
A study discussed in research on oral history archives found a striking gap between use and preservation: 81% of theses used oral history as a methodology, while only 28% of original interviews were archived (research on oral history preservation and use). That's a warning for family historians too. If the interview isn't labeled, transcribed, and stored carefully, future relatives may inherit the story secondhand but lose the record itself.
The raw interview matters as much as the chapter you eventually write from it.
After the session:
- Back up the audio the same day
- Write a short summary while the mood and details are still fresh
- Tag the file with names, places, and approximate subjects
- Transcribe it while you still recognize references and side comments
If you need help building thoughtful prompts before the session, this list of interview questions for grandparents can help you avoid both stiffness and rambling.
A short demonstration can also help you hear the difference between a casual conversation and a usable oral history session:
Turning Raw Material Into a Readable Narrative
This is the part many people underestimate. Gathering material feels productive because every photo scanned and every interview completed gives visible progress. Writing asks for judgment. You must decide what belongs in the main story, what belongs in the notes, and what doesn't need to be on the page at all.
That judgment is where family history becomes a book.
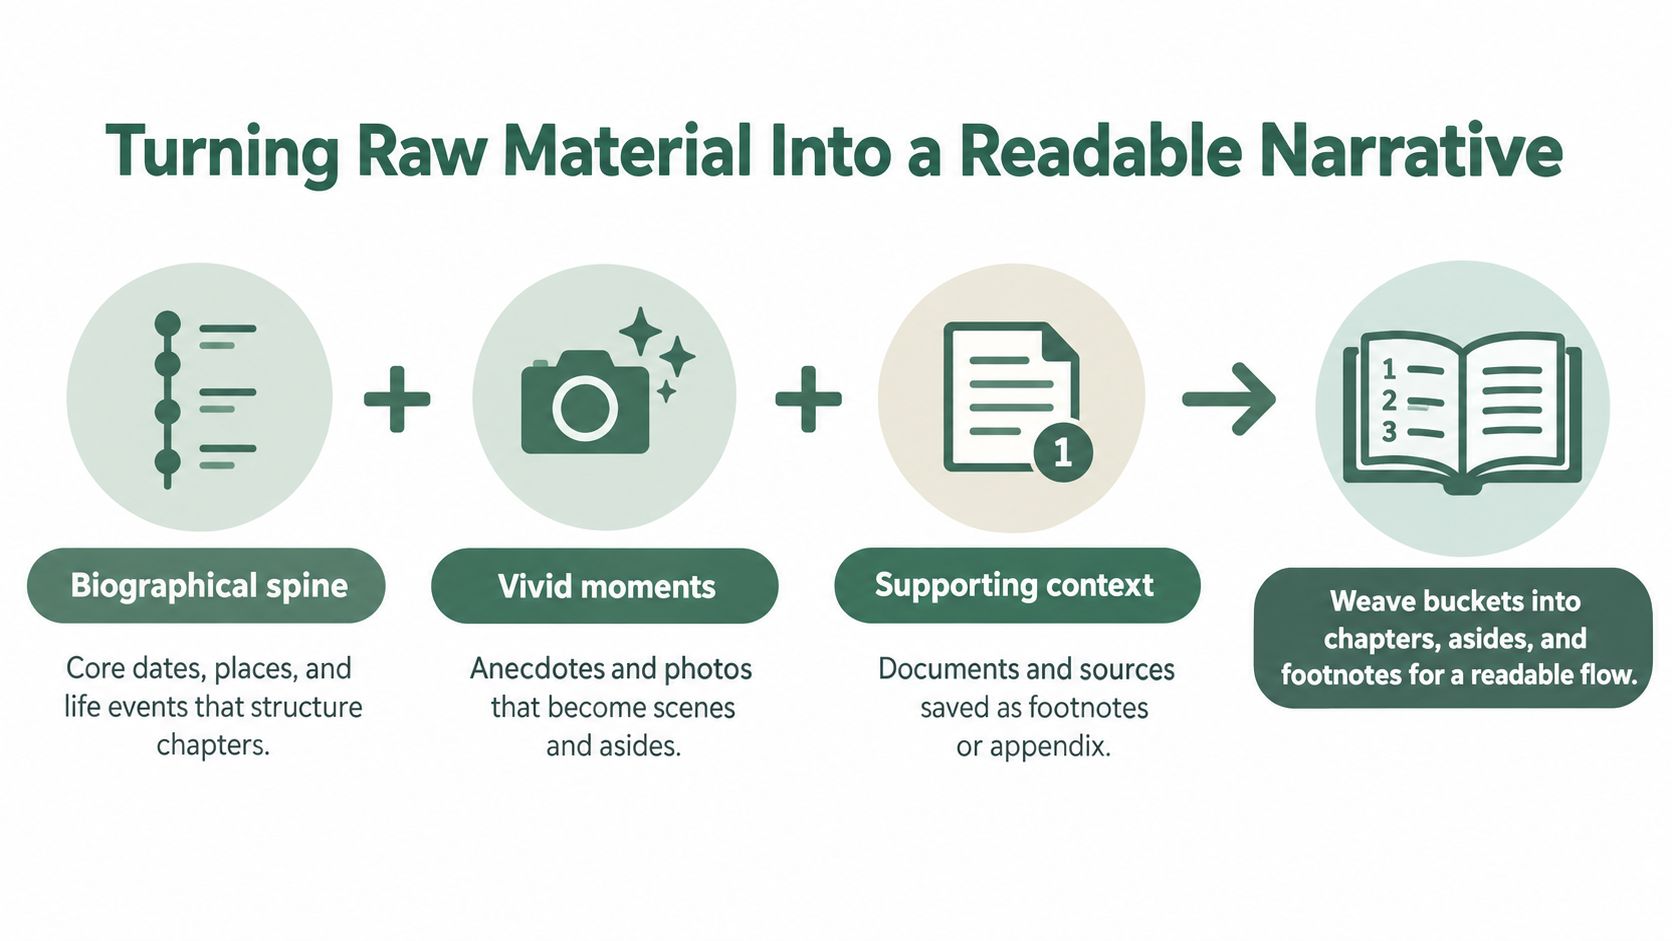
A useful starting method is to sort everything into three buckets:
- Biographical spine for names, dates, places, and major life events
- Vivid moments for scenes, anecdotes, remembered phrases, and images
- Supporting evidence for documents that confirm, explain, or sit behind the prose
Build chapters from life arcs, not storage folders
A folder called “Grandma papers” isn't a chapter. A readable chapter usually needs an arc. Try a simple pattern:
- Opening image
A kitchen table, a factory gate, a train station, a boarding house. - Defining decision
Marriage, migration, enlistment, a move for work, a break with family. - Daily texture
Meals, routines, jobs, beliefs, money worries, neighbors, language. - Legacy
What changed in the next generation because of that person's choices?
That shape helps readers stay with the person rather than drowning in chronology.
Anchor private lives in public time
One widely used family history guide recommends building a timeline that pairs family events with major historical events such as World War I, the Great Depression, and the 1918 influenza pandemic, because those wider events often explain hardship, movement, and life decisions. It also advises capturing known facts first, then adding emotional detail from interviews and transcripts (family history writing guidance from Lisa Alzo).
That principle is simple but powerful. “He moved in 1931” is bare fact. “He moved in 1931, when jobs had become uncertain and the family had already endured loss” gives readers a world, not just a date.
Compress without flattening
A family history isn't an audit file. If five anecdotes prove that a grandfather was stubborn, you may only need one. If three letters repeat the same worry about money, quote one and summarize the pattern.
Use compression deliberately:
- Merge repetition when several stories do the same job.
- Cut explanation when the reader can infer it from context.
- Keep one concrete detail that makes the moment visible.
A single remembered object often does more work than a paragraph of interpretation.
This is also where a genuine gap in family-history advice appears. Guidance often helps people collect stories, but it gives less practical help on deciding what becomes a chapter, how to balance theme with chronology, or how to turn recordings into a coherent memoir-style narrative. The UCLA family history oral history page is strong on gathering, and that gathering is essential, but the shaping still falls to the writer.
Draft your first pass with momentum in mind. You can improve sentences later. Structural confusion is easier to fix in an outline than in a polished chapter.
Handling Difficult Memories With Care and Accuracy
Most families contain silence. Some contain open disagreement. Others contain events that still hurt the people who survived them. That doesn't mean those parts must be ignored, but they can't be handled casually.
Start with three questions for each sensitive event:
| Situation | Include As Written | Paraphrase or Summarize | Omit or Defer |
|---|---|---|---|
| The event is central, documented, and living relatives understand it will appear | Usually yes | Sometimes, if direct detail would cause unnecessary harm | Rarely |
| The event matters, but accounts conflict or details are incomplete | Only if uncertainty is stated clearly | Often the safest choice | Sometimes, until more evidence appears |
| The event is highly personal, weakly verified, or not necessary to the story | Usually no | Possibly, if broad context is enough | Often best |
Write with restraint
If you're covering displacement, estrangement, addiction, abuse, poverty, or suicide, use plain language. Name what happened if you can verify it. Don't heighten it for drama.
A trauma-aware approach does three things well:
- It centers the person, not the spectacle
- It separates verified fact from family interpretation
- It admits uncertainty where the record breaks down
Some current advice for family storytelling does acknowledge emotional fatigue, difficult memories, and the value of shorter sessions, but there's still much less practical guidance on writing contested or painful material with both respect and rigor. The discussion of hard-to-discuss family memories at Modern Heirloom Books points toward a preservation-first, shorter-session approach that suits this kind of work.
Let uncertainty stay visible
Writers often make one harmful move in revision. They smooth uncertainty into certainty because they want the chapter to read cleanly. Resist that urge.
Use honest phrasing such as:
- Family members remembered the move differently
- The surviving records agree on the year but not the town
- No document has yet confirmed the cause
- Relatives described a period of estrangement, though details remain private
Some of the most trustworthy sentences in a family history are the ones that admit what you still don't know.
When living people are directly affected, courtesy review can help. Not because relatives should control the record, but because names, dates, and interpretations deserve care when the consequences are still close.
Editing, Designing, and Preserving the Final Record
Writing and editing are different kinds of attention. If you try to do both at once, you'll often weaken the draft before it has a chance to take shape.
Set editing on its own calendar. Read for structure first. Read for sentence quality later.
Make two editing passes
First, do a structural pass. Ask:
- Does each chapter earn its place?
- Do dates and ages align across the whole manuscript?
- Does the ending feel like a close, not a sudden stop?
- Have you buried the strongest scenes under too much setup?
Then do a line pass. Tighten wording. Check names and place spellings. Match every factual statement against your notes. Family history readers forgive modest design. They don't forgive confusion.
Choose a format that matches your real goal
There isn't one correct endpoint. The best format depends on who needs the work and how they'll use it.
A few common paths:
Print copies for family
Good for gifting, reading at gatherings, and leaving with older relatives who prefer paper.Digital files such as PDF or EPUB
Easy to search, update, and distribute across branches of the family.Archival deposit
Useful if you want the work, or its supporting materials, available beyond the immediate family through a library, historical society, or repository.
Design matters more than many first-time writers expect. Use readable type. Keep photo captions consistent. Scan photographs clearly enough that people can identify faces and settings later. If you want outside help at this stage, a template can keep you from rebuilding the layout from scratch. A family history book template can give you a stable structure for chapters, captions, and appendices.
Preserve the evidence behind the book
The finished book is only part of the inheritance. The notes, recordings, transcripts, and scans are the other part.
Store the project in at least two locations, with one separate backup. Keep filenames clear and boring. “1954_maria_ellis_wedding_photo_front” will outlast “old pic 7.”
If you used a memory platform during collection, keep exports or copies of what was contributed there too. One option families use is remembers.life, which lets people add a name, photos, stories, milestones, and shared family memories that can support later writing and preservation work.
Your First 30 Days as a Family Historian
The most helpful mindset for the first month is this: you're not trying to finish a book. You're trying to create a usable record that someone else could continue if needed.
That shift lowers the pressure and raises the quality. Preservation beats performance at the start.
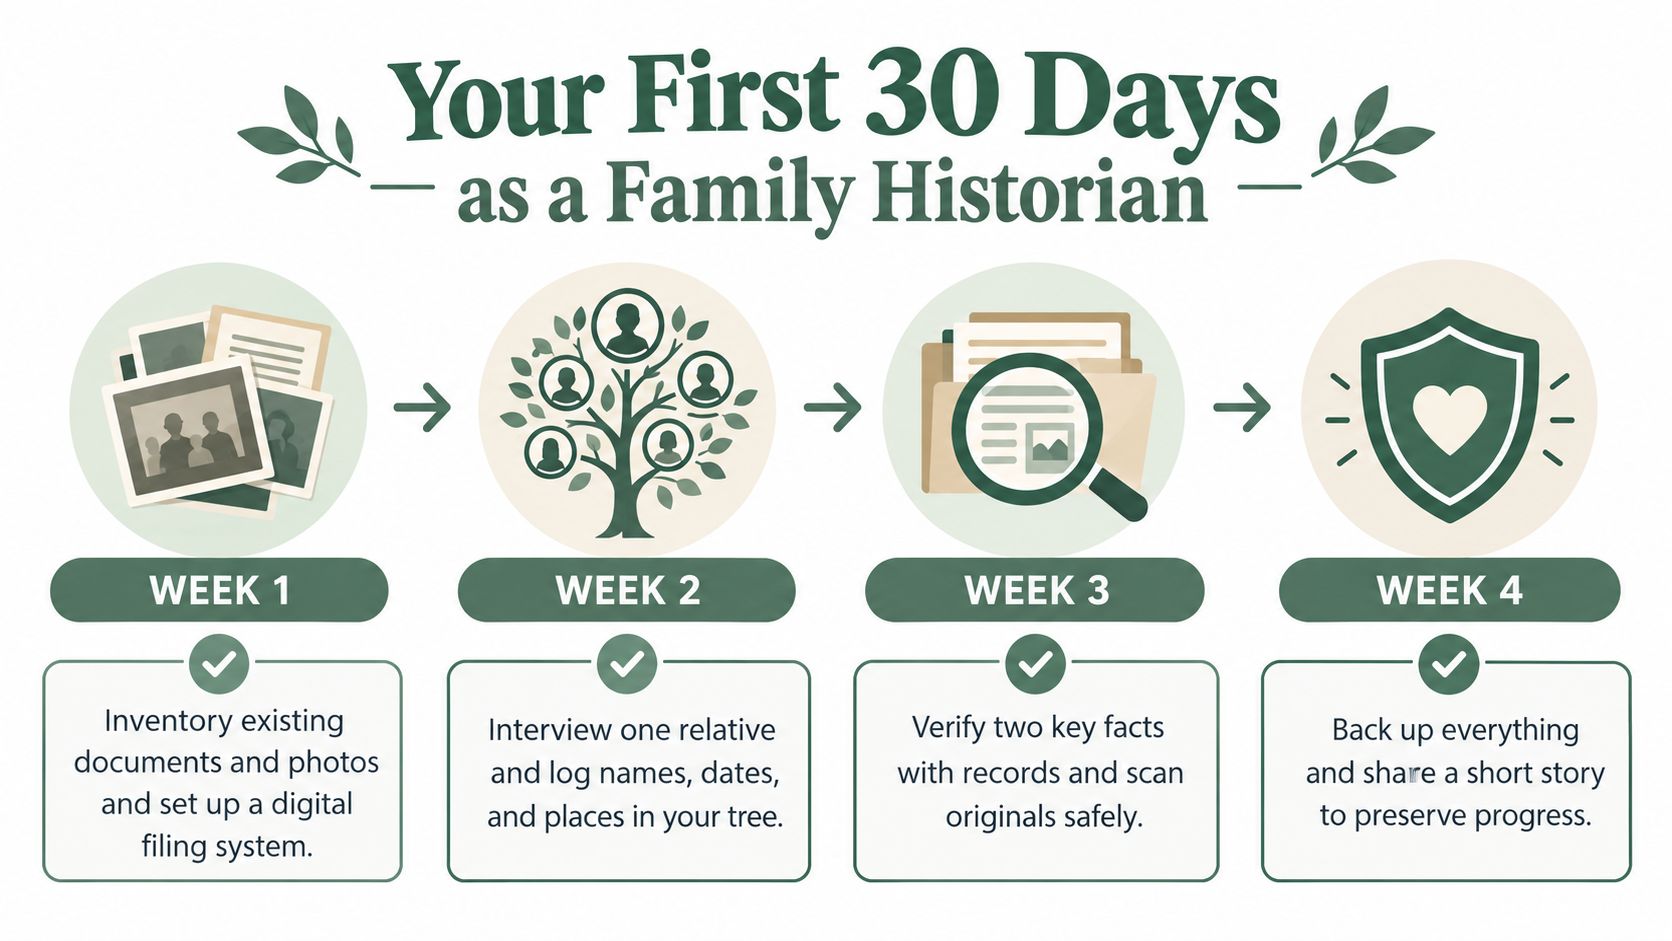
A four-week starter plan
Week 1 is for inventory. Gather what already exists. Photos, certificates, funeral cards, address books, letters, recipe cards with names on them, and labeled objects all count. Create folders with plain names and pick one research question.
Week 2 is for living memory. Contact two relatives. Schedule one recorded conversation. Then transcribe it promptly, while the names, jokes, and side references still make sense to you.
Week 3 is for testing your timeline. Write a one-page life outline for one person only. Include known dates, probable dates, places, and gaps that need checking.
Week 4 is for actual prose. Write one short vignette using one document and one interview excerpt. Don't aim for a polished chapter. Aim for a paragraph or page that feels grounded and true.
What to do this week
If the full project still feels large, reduce it to five actions:
- Gather one small set of materials from one person or one box
- Name files so they can be found again
- Record one conversation or memory prompt
- Transcribe enough of it to preserve the exact wording
- Draft one short scene from the material
None of that requires perfect certainty. It requires motion and care.
What lasting work really looks like
People often ask how to write family history as if the answer is a single writing technique. It isn't. It's a sequence of habits. You verify before you dramatize. You preserve before you summarize. You narrow the scope so the story can be completed.
The result doesn't need to be grand. It needs to be legible, sourced where possible, honest where uncertain, and humane where the record grows difficult.
Start while the voices are still available. A partial record made now is often worth more than a perfect plan postponed again.
That's how family history lasts. Not because every gap is closed, but because someone cared enough to gather, label, ask, check, and write.
If you want a practical place to begin, remembers.life helps families capture names, photos, milestones, and written memories in one shared record. It suits this kind of work well because family history rarely comes from one person alone, and a preserved memory today can become a documented chapter later.