Personalised Photo Memory Book: Step-by-Step Guide
Create a personalised photo memory book to preserve family stories. Follow this step-by-step guide for scanning, layout, and printing your photos.
A 2026 survey found that 77% of people have no plan for what happens to their photos after death, while 70% of photos are never viewed again. A personalised photo memory book can help, but only when you create it as part of a wider archive that preserves the images, names, dates, stories, and access instructions behind the finished pages.
The attractive book is only the visible part of the work. The lasting value comes from knowing who appears in each photograph, why the moment mattered, where the original is stored, and how relatives can find the rest of the collection later. Treat the project as both a design exercise and a practical family-legacy system.
Table of Contents
- Why You Need to Start Your Family Archive Now
- Digitising Your Physical Photos Safely
- Selecting Photos Through Story and Interview
- Choosing Your Creation Method and Tools
- Designing for Accessibility and Legacy
- Building a Complete Family-Legacy Plan
Why You Need to Start Your Family Archive Now
A shoebox of 1970s prints can survive for decades while the names written on the back remain known to one relative. Once that person is gone, the photographs may still exist, but their meaning becomes difficult to recover. Family images are often scattered across phones, memory cards, computers, albums, drawers, and online accounts, with no shared record of who appears in them or where the full collection is stored.
A personalised photo memory book gives the archive a clear point of entry. It can introduce relatives to important people, places, and events, then direct them to a larger digital collection containing additional images, captions, interviews, and access instructions. The finished book should be readable on its own, while also helping the family find the material behind it.
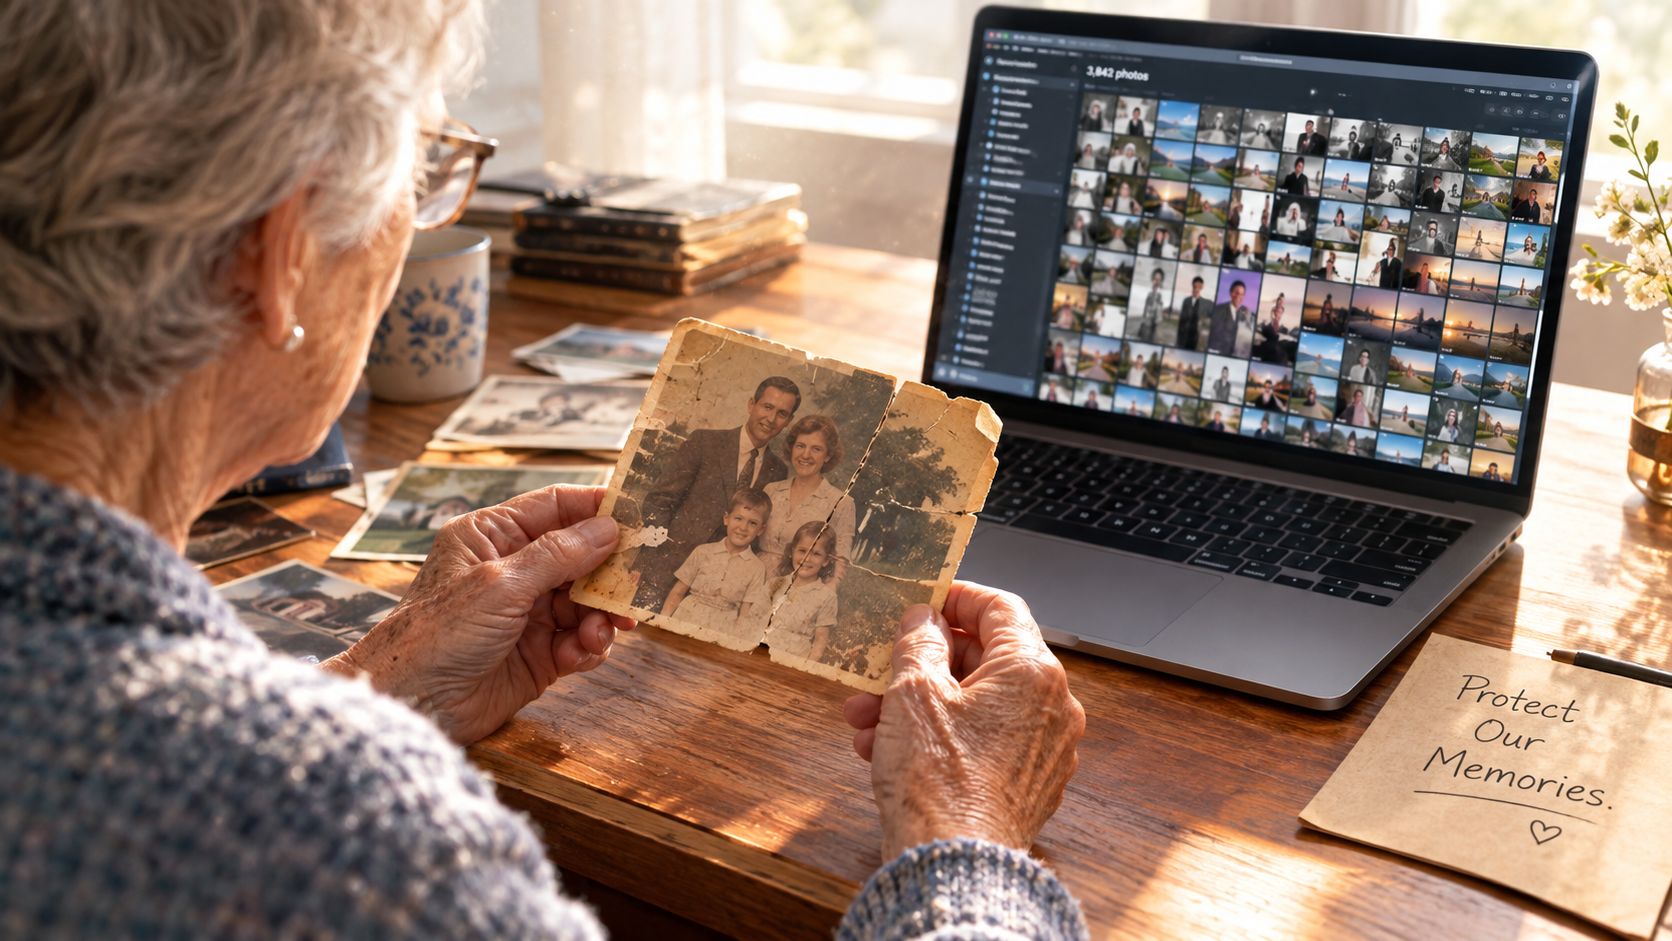
Albums were always family records
The family album has a longer history than many people realise. In 1888, George Eastman introduced the Kodak No. 1, priced at $25 and supplied with 100 exposures. Customers returned the entire camera to Kodak for processing and reloading, reducing the technical knowledge photography had previously required. In 1900, Kodak launched the Brownie camera for $1 and marketed it especially to children and families, as described by the Old Treasury Building's history of the camera.
By 1898, more than 1.5 million roll-film cameras had reached amateur photographers, according to the Metropolitan Museum of Art account cited by the Old Treasury Building. By 1905, approximately one-third of American households owned a camera, according to the Smithsonian. Photography moved beyond studios and specialist circles into kitchens, gardens, schoolyards, weddings, holidays, and ordinary family gatherings.
Most snapshots made between the 1890s and 1950s entered family albums. Selecting, ordering, captioning, and preserving photographs has therefore been a family-recording practice for more than a century. A modern book can continue that practice while linking printed pages to a described digital archive, including larger files, scanned documents, audio memories, and instructions for future family members.
Practical rule: Make the book understandable to someone who does not know the family. A photograph without names or context may be beautiful, but it cannot reliably carry a history forward.
Start with one manageable subject, such as a parent's childhood, a family home, a marriage, or a group of holidays. A focused story is easier to finish than an attempt to represent every photograph the family owns. Use the guide to what a memory book is to help choose a chronological, thematic, or person-centred structure. Then record the same identifying information in the digital archive so the physical book and its wider family legacy remain connected.
Digitising Your Physical Photos Safely
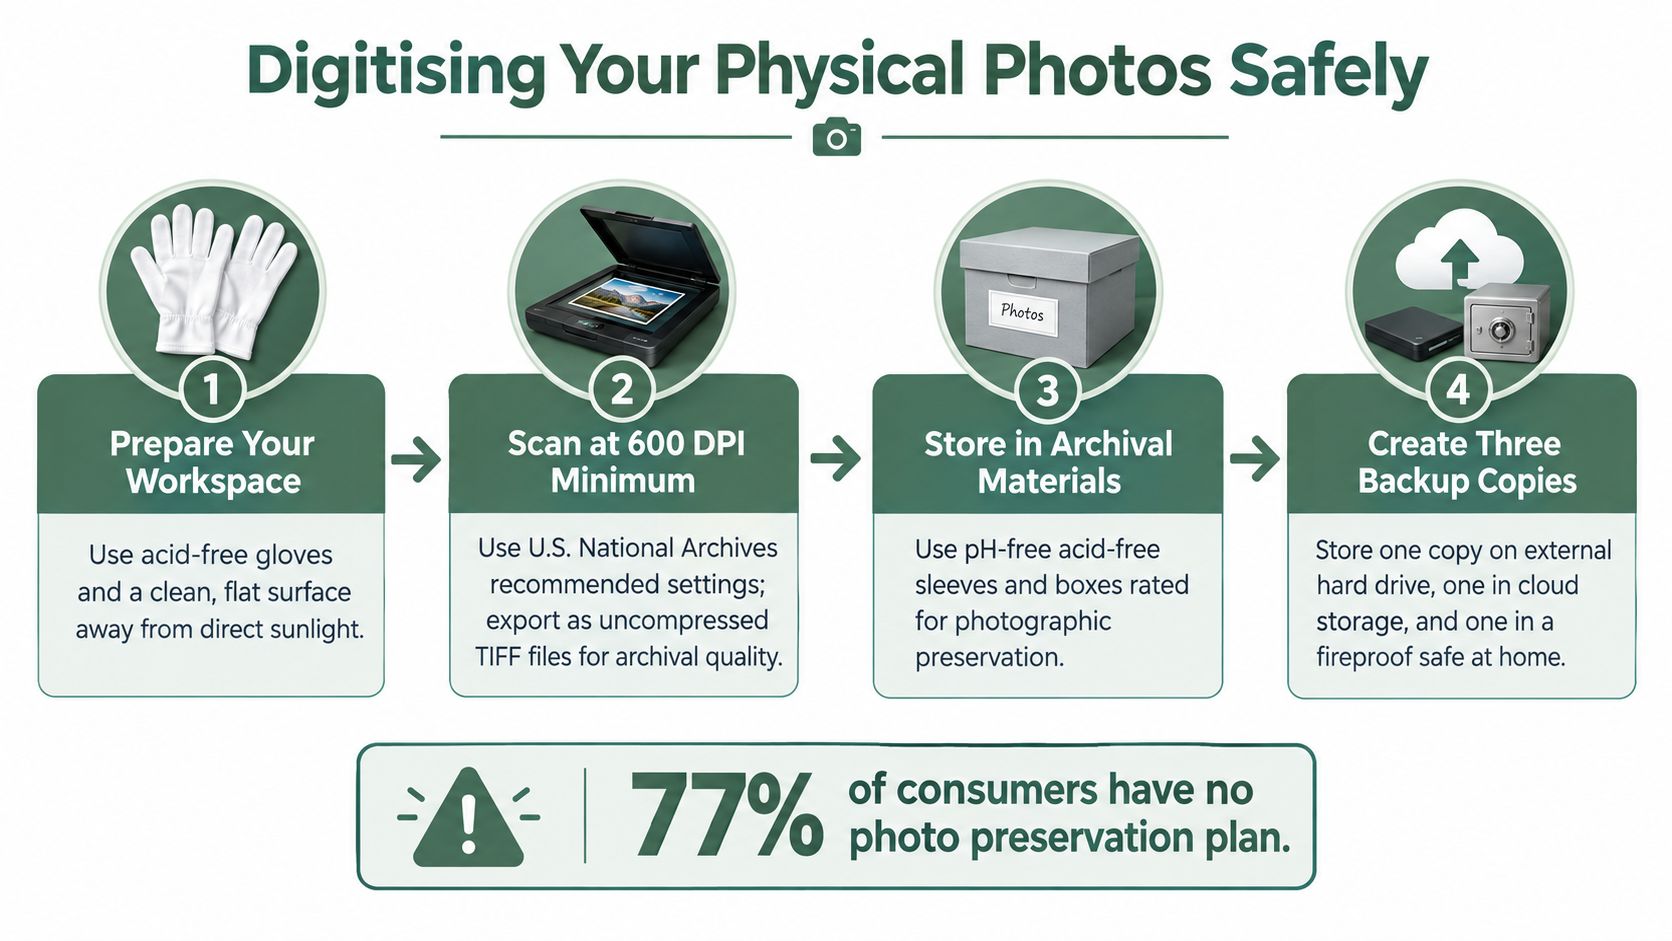
Before selecting layouts, protect the material you already have. Never treat digitisation as permission to discard original prints or negatives. A scan is a working copy and a preservation aid, not automatically a replacement for the physical object.
The U.S. National Archives recommends scanning flat photographs so the entire original fits within the capture area. It also recommends consistent filenames made with letters, numbers, hyphens, or underscores, together with minimum descriptive metadata covering who, what, where, and when. Its family photograph digitisation guidance provides the archival foundation for this process.
Use a non-destructive workflow
Work in batches rather than pulling an entire collection apart at once.
- Inventory the collection: Group prints and negatives by person, event, household, or year. Record where each batch came from, such as “hall cupboard album” or “Margaret's suitcase.”
- Capture the whole original: Scan without cropping edges, handwritten notes, stamps, or damage. Those details may help identify the photograph later.
- Assign a stable filename: A format such as
1984-07-15-Smith-Reunion-001gives every file a durable identity. If the date is uncertain, use a clearly marked approximate date rather than pretending the scan date is historical. - Add descriptive metadata: Record names, approximate dates, locations, event descriptions, and story notes. Separate confirmed information from guesses.
- Check the files: Review orientation, focus, exposure, colour, duplicates, and missing pages before you begin design work.
- Create a layout copy: Preserve the high-quality master and make a separate, smaller derivative for arranging pages.
- Inspect the final PDF: Confirm that every intended photograph appears correctly and that the production file contains suitable print-resolution images.
If you don't have a suitable scanner or a large collection to process, a professional service can reduce handling mistakes. Camelot Print & Copy Centers scanning is one possible resource to investigate, particularly when you need help converting physical material before organising the archive.
Back up before editing
Use a three-copy, two-media, one-off-site backup strategy before editing, layout, or printing. Keep the original files on one storage medium, a second copy on another medium, and a further copy away from the home or primary workspace. A single cloud folder isn't a complete preservation plan, especially if nobody else knows it exists or how to access it.
Keep the physical originals in safe, stable storage, and maintain a simple record that connects each box or album to its digital folder. The guide to digitising old photos can sit alongside your project checklist, but the most important discipline is consistency. Don't rename files casually halfway through the work, and don't separate captions from the image records.
Selecting Photos Through Story and Interview
The sharpest photograph isn't always the most valuable one. An ordinary kitchen scene may prompt a detailed account of a relative, a house, a local custom, or a difficult period, while a formal portrait may reveal very little beyond appearance.
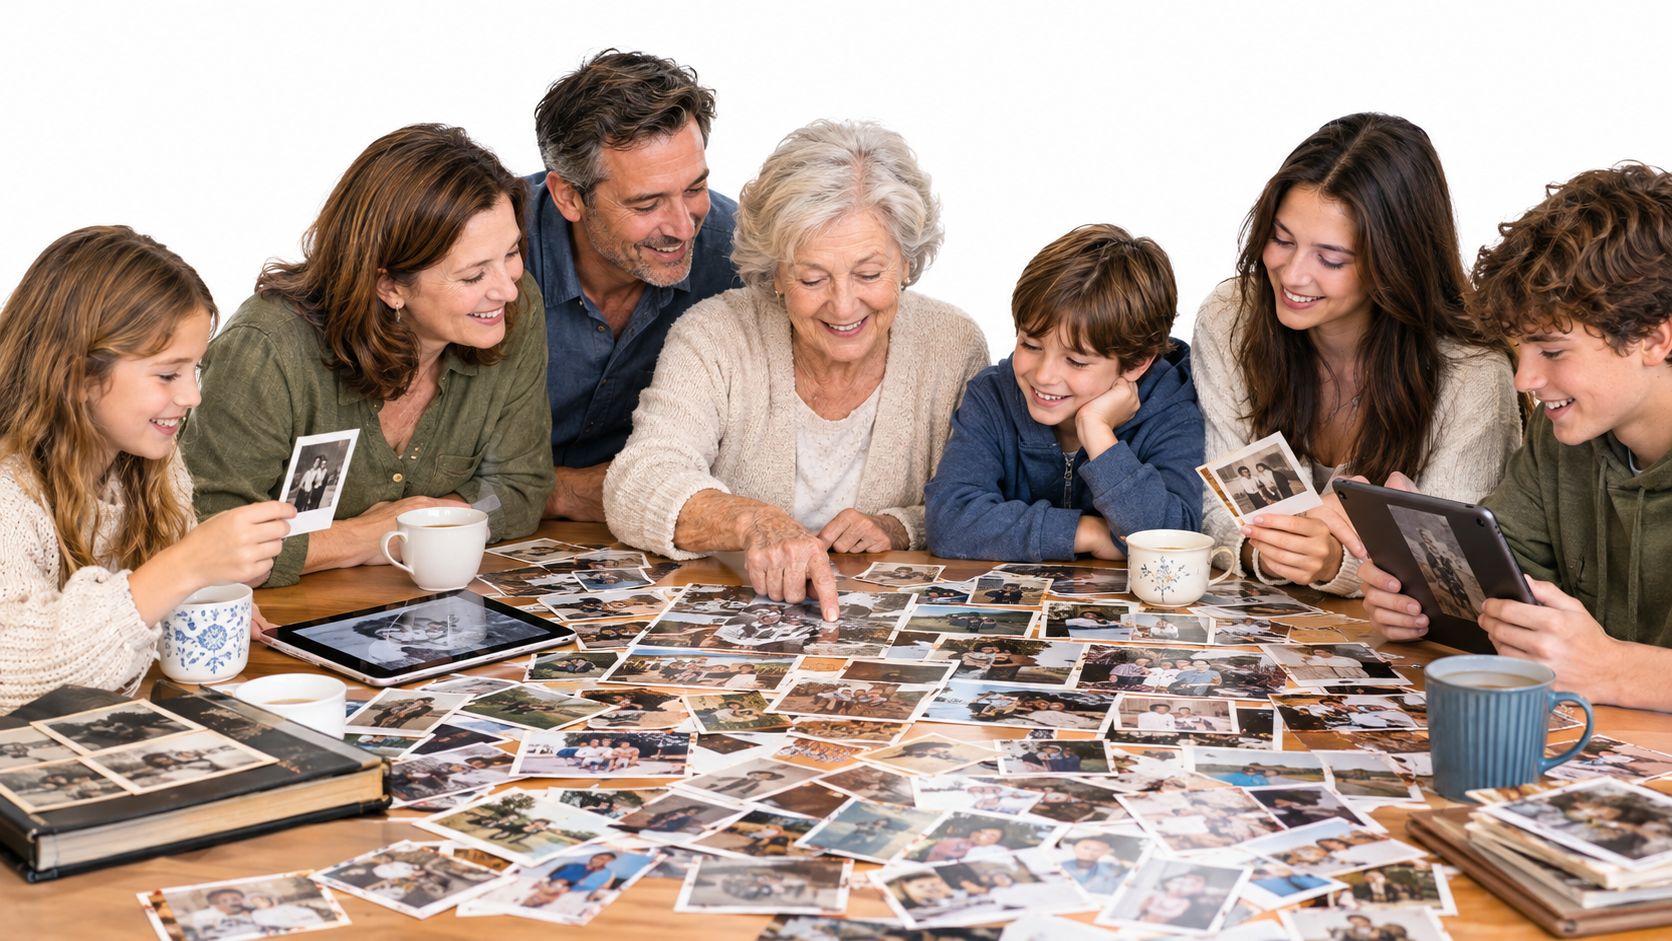
Treat selection as a memory-retrieval and interviewing process. Show one photograph at a time, especially when working with an older relative. A large pile can create recognition overload and encourage quick guesses instead of careful recollection.
Ask questions that open the story
Begin with neutral prompts rather than supplying an answer.
- Identify the people: Who is present? What were their names or family nicknames?
- Locate the scene: Where was the photograph taken? Was the setting a home, workplace, school, holiday destination, or relative's house?
- Recover the sequence: What happened before the photograph? What happened afterwards?
- Find the meaning: Why was the moment memorable? What might someone who wasn't there misunderstand?
- Record uncertainty: Is the identification confirmed, probable, or unknown?
Record the speaker's exact wording when possible, either in notes or with consented audio. Preserve unusual spellings, family terminology, and expressions rather than polishing them into generic language. Edit captions for clarity, but don't erase uncertainty. “Circa” is more honest than a false precise date, and “possibly Aunt Rose” is more useful than an invented certainty.
Research on autobiographical photographs reports associations with well-being, quality of life, personal identity, and cognitive functioning. A study of affectively loaded childhood photographs included 159 adults aged 65–88, showing that photo-cued recall can be examined systematically across age groups in the Frontiers in Psychology research.
A caption should preserve what the family knows, not conceal what the family doesn't know.
Before interviewing, remove obvious duplicates and near-duplicates so the conversation stays focused. A tool that helps you sort blurry and similar photos may be useful for reducing the visual clutter before you begin, but don't delete an image solely because it looks technically weak. Keep the original in the archive if it carries a unique story.
Build a balanced sequence
A strong book usually needs more than landmark events. Include weddings, moves, graduations, and celebrations, but also include ordinary meals, pets, gardens, work clothes, holiday preparations, favourite objects, and familiar rooms. These details often explain how a family lived between the major occasions.
Use a confidence field for every selected image:
| Confidence | Meaning | Caption approach |
|---|---|---|
| Confirmed | The person, place, or date is supported by reliable knowledge | State it directly |
| Probable | Someone remembers it, but evidence is incomplete | Use cautious wording |
| Unknown | The detail can't currently be verified | Preserve the uncertainty |
For a deeper interview prompt list, use these questions to ask family while the memories are available. The book will feel more personal when captions retain the speaker's voice instead of replacing it with generic descriptions.
Choosing Your Creation Method and Tools
The right production method depends on what the book needs to do. A handmade scrapbook offers tactile freedom, while a printed photo book creates a clean, repeatable object. A digital planning system can help organise stories and contributions before anything reaches the printer.
Compare the trade-offs
| Method | Works well for | Main limitation |
|---|---|---|
| Traditional scrapbooking | Original memorabilia, handwritten notes, tactile family participation | Materials can be bulky, fragile, and difficult to duplicate |
| Print service | A finished gift with consistent pages, binding, and multiple copies | You must prepare files carefully before ordering |
| Digital planning tool | Shared captions, chronological records, audio, and remote contributions | It still needs a clear access and preservation plan |
| Hybrid workflow | A digital archive paired with a carefully designed physical book | Requires discipline to keep versions and metadata connected |
Traditional scrapbooking is strongest when the object itself matters. Tickets, letters, fabric, pressed items, and handwritten labels can make a page feel unmistakably personal. It becomes less practical when several relatives need copies, when pages may be handled frequently, or when the materials need long-term digital backup.
Print services remove much of the physical assembly work. They also make it easier to produce a second copy for another household, but they won't correct missing names or uncertain dates. A polished layout can make incorrect information look authoritative, so verify the content before you concentrate on decoration.
Digital tools are useful when relatives live apart. A family member can contribute a story, caption, video, or voice recording without handling the original album. Remembers.life, for example, lets users build a shareable digital life story with photos, written memories, milestones, captions, videos, voice recordings, and optional family contributions. It can serve as the working archive from which a physical book is curated, rather than replacing the book.
A professional photographer's archive can also help when you need visual context for a milestone project. For example, galleries featuring Atlanta milestone and cake smash photos may offer ideas for sequencing celebrations, portraits, and small details, even when your own material is entirely historical.
Choose the method that your family will finish and continue using, not the one with the longest feature list.
Keep the master files and the book-production files separate. Before sending an order, check the cover text, page sequence, image orientation, captions, crop marks, and spelling. The final PDF is part of the archive, so store it with the source photographs and the caption record.
Designing for Accessibility and Legacy
A memory book isn't successful if the person whose memories shaped it can't comfortably read or handle it. Visual polish matters, but legibility, physical ease, and shared use matter more for an older reader with changing vision, reduced dexterity, memory difficulties, or limited digital confidence.
A 2025 systematic review identifies visual impairment, reduced dexterity, living alone, lower income, limited digital literacy, and difficulty understanding technical language as barriers to older adults' technology use. The findings, published in the JMIR Aging review, support a practical design approach that removes friction instead of assuming every user can adapt.
Design for comfortable reading
Use clear type, strong contrast, generous spacing, and captions that can be read without magnification. Avoid placing small text over photographs, using decorative fonts for names, or filling every area of a page. A restrained layout gives the eye somewhere to rest and makes a story easier to follow aloud.
Use large, high-contrast previews during review. Give relatives plain-language prompts such as “Who is this?” and “Where were you?” rather than technical instructions about file metadata or editing software. If a family member struggles with a laptop, offer phone calls, printed contact sheets, or audio responses as alternatives.
Keep the older person in control
Family members can help verify names and dates remotely, but assistance shouldn't become silent editorial control. Let the older person decide which stories are private, which terms feel correct, and which photographs belong in the finished book.
A practical review process is:
- Print a draft: Review pages on paper, not only on a bright screen.
- Read captions aloud: Listen for confusing wording, missing context, or names that sound unlike the family's language.
- Test handling: Check whether the binding, paper, and page weight are comfortable to open and turn.
- Invite a second reader: Ask someone unfamiliar with the archive whether the sequence makes sense.
- Keep alternatives: Store longer stories and audio separately when a short caption would lose important meaning.
The best book may contain fewer photographs and more readable context. A family legacy survives through use, conversation, and accurate interpretation, not through visual density alone.
Building a Complete Family-Legacy Plan
Printing the book is one part of preserving a family archive. Add a short record stating who curated it, where the original photographs and memorabilia are stored, where the digital masters and final PDF live, and whom relatives should contact for access. Keep a copy with the book and another with the digital archive.
Name a trusted recipient and record the access arrangement. Some families may allow broad access, while others may restrict sensitive images. Small interview studies suggest that many older adults prefer an “all or nothing” approach to heirs' access, particularly when information stays within trusted family circles. Offer both a simple family-access option and a selective plan for private material.
Add an archive note to the book or storage box:
- Collection location: Where prints, negatives, and memorabilia are stored.
- Digital location: Where master files, captions, audio, and the final book PDF are kept.
- Responsible person: Who can update the archive and help relatives access it.
- Privacy instructions: Which materials are open, restricted, or private.
- Story status: Which captions are confirmed, probable, or unknown.
The legacy planning guide can help connect the printed book with the wider family record. A personalised photo memory book serves future readers best when it preserves both readable stories and clear instructions for finding the remaining files.
Remembers.life lets families create a shareable digital life story with photos, written memories, milestones, captions, videos, voice recordings, and family contributions. Organise photographs and stories at remembers.life, then use that record to guide a book relatives can read, share, and preserve.