Preserving Family Documents: A 2026 Guide
Learn the essential steps for preserving family documents in 2026. Protect your family history with our expert tips and best practices.
You open a box in the attic and find more than photographs. There are handwritten letters, a school certificate, a military record, and perhaps a deed that explains why your family lived where it did. The papers may be dusty or yellowed, but their importance is immediate. They contain names, dates, relationships, and evidence that may not exist anywhere else.
The first instinct is often to scan everything and throw away the originals. That feels efficient, but it creates a fragile archive. A hard drive can fail, a cloud account can become inaccessible, and a scan can't preserve the texture, ink, annotations, or physical clues that help a family historian understand an object. Preserving family documents works best as a two-part system, careful physical care combined with organized digital copies.
Table of Contents
- Discovering Your Family's Hidden Treasures
- Organizing and Cataloging Your Documents
- Digitizing for Long-Term Preservation
- Creating a Sustainable Preservation System
- Engaging Your Family in Preservation
Discovering Your Family's Hidden Treasures
The box usually arrives without context. One relative remembers finding it in a basement, another says it belonged to a grandparent, and nobody knows whether the papers are arranged by date, person, or accident. Before sorting, move the contents to a clean, dry table and handle each item with clean, dry hands. Don't write on originals, use paper clips, adhesive notes, rubber bands, or pens near them.
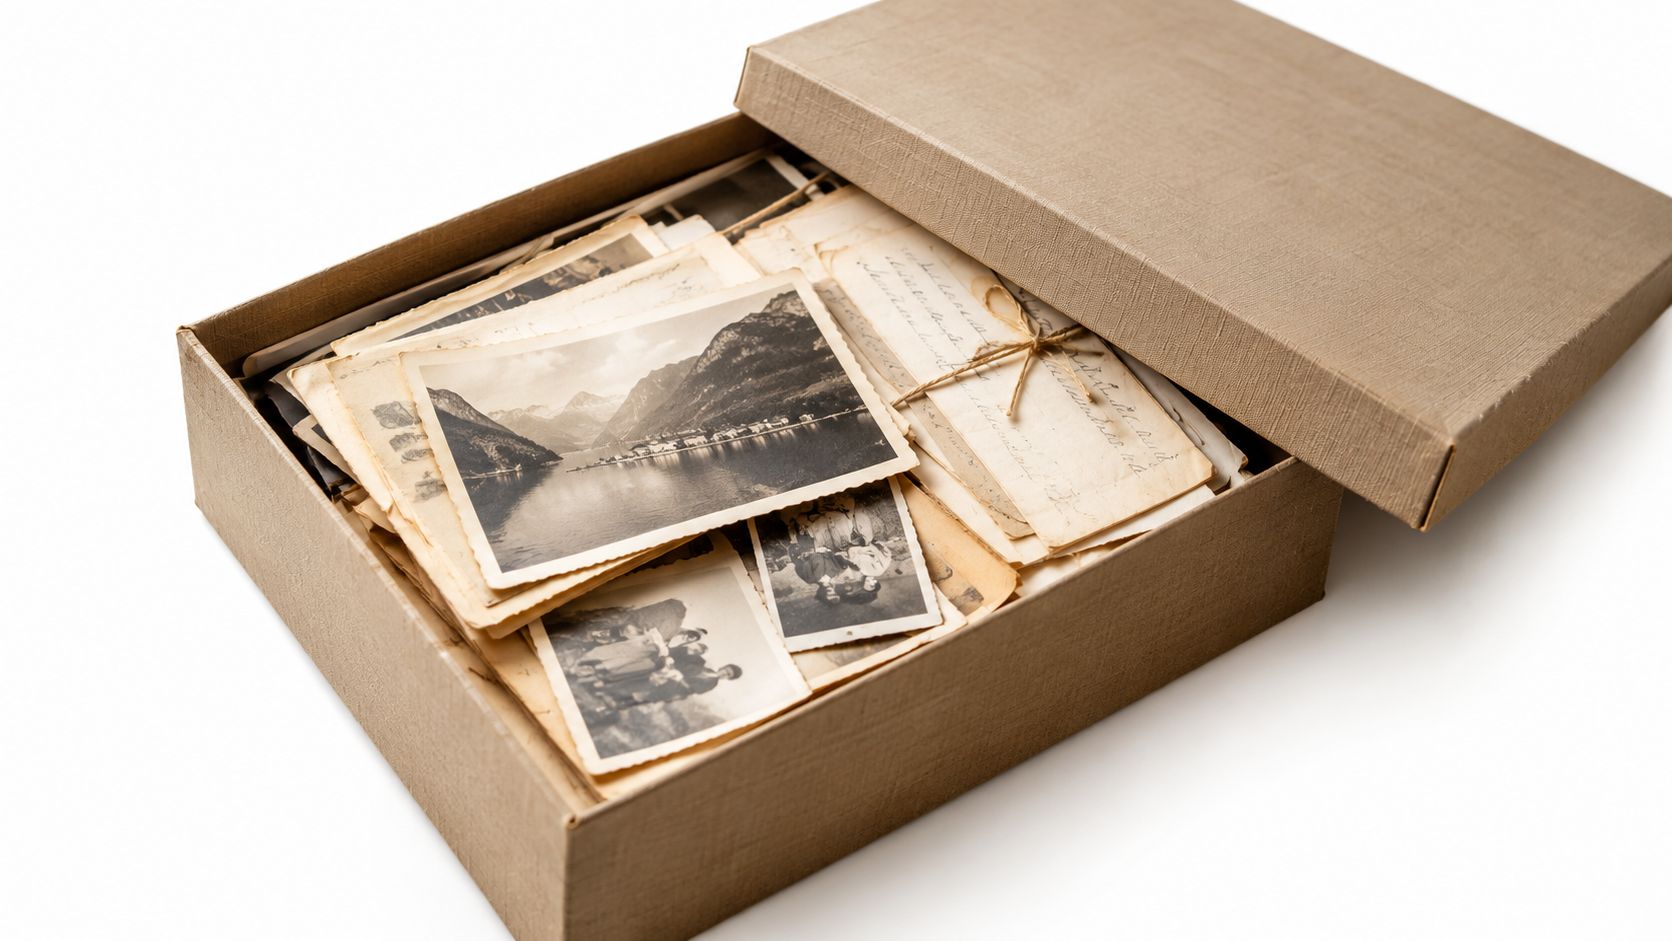
A family historian I know once found a bundle of letters mixed with utility bills and newspaper clippings. The letters looked ordinary until a place name appeared in the margin, connecting an otherwise unidentified couple to a migration story. That kind of discovery is why routine-looking material deserves a pause. A receipt, envelope, school program, or typed note may provide the context needed to interpret a more formal record.
Start with safety, not speed
Look for water staining, active mold, insect damage, brittle paper, flaking photographs, or pages stuck together. Isolate anything suspicious from the rest of the collection and avoid brushing loose mold through the room. Valuable or severely damaged material may need a professional conservator rather than a home repair.
Don't unfold a document repeatedly just to read it, and don't force a photograph out of an adhesive album. Photograph the item in its current state if you need a reference, then make a note describing its condition. The guide to documenting family history can help you capture the story around an item instead of treating the paper as an isolated object.
Build an inventory before making decisions
Create a simple spreadsheet with an identifier, a short description, the apparent owner, names mentioned, places, dates, condition, and current location. Use cautious language when you aren't certain. “Possibly a letter from Anna to George” is more useful than recording an assumption as fact.
Prioritize originals that establish identity, family relationships, property, education, military service, or major life events. Set aside duplicates and routine material for later review, but don't discard anything until the family has considered its context. The first pass should reveal what you have, not force irreversible decisions.
Practical rule: Keep the original until you understand what information, annotations, and relationships it carries.
Organizing and Cataloging Your Documents
A preservation system fails when only its creator can manage it. Organize the collection so another relative can locate a birth record, understand who it concerns, and find the physical original without calling you for instructions.
Begin with a broad sort. Separate photographs, correspondence, vital records, legal papers, school records, military materials, journals, and miscellaneous ephemera. Within each group, use family line or person as a secondary division, then date where the date is reliable. Don't force an exact chronological order when the evidence is uncertain. A group labeled “possibly 1940s” is safer than a false date that later researchers repeat.
Use a naming system that survives handoffs
Assign each item a simple identifier, such as SMITH_John_letter_1934_001. The U.S. National Archives recommends using Latin letters in file identifiers, avoiding spaces and symbols, and adding descriptive metadata that records who, what, where, and when in its family digitization guidance. Apply the same identifier to the spreadsheet entry, digital file, and archival folder label.
A workable folder structure might look like this:
- Family line: Keep separate top-level folders for major branches.
- Person or household: Group records that belong to the same individual or family unit.
- Material type: Separate letters, certificates, photographs, and legal records.
- Date or period: Use a date only when the document supports it.
The folder path should help you find an item, while the catalog should explain it. Record alternate spellings, relationships, locations, and clues from envelopes or inscriptions. For photographs, identify people from left to right only when you're confident, and mark uncertainty clearly.
Preserve context beside the document
A scan of a letter without its envelope loses the postmark, address, and sometimes the sender's identity. Catalog the envelope with the letter, and note whether pages belong together. If a document came from a particular box, album, or drawer, record that original relationship before reorganizing it.
A spreadsheet is enough for a small collection. Larger archives may benefit from a dedicated cataloging application, but software won't correct inconsistent descriptions. Choose a system the family can maintain, export, and understand without depending on one proprietary platform.
For privacy-sensitive material, separate public family history from restricted records. The practical personal data guide is useful when deciding which details belong in shared descriptions and which should remain limited to authorized relatives.
Digitizing for Long-Term Preservation
Scanning is valuable because it creates a working copy, supports discovery, and reduces handling of fragile originals. It isn't a substitute for physical preservation. A digital file captures visible content, but the original may contain paper quality, embossing, ink pressure, bindings, annotations, or evidence on the reverse that a hurried scan misses.
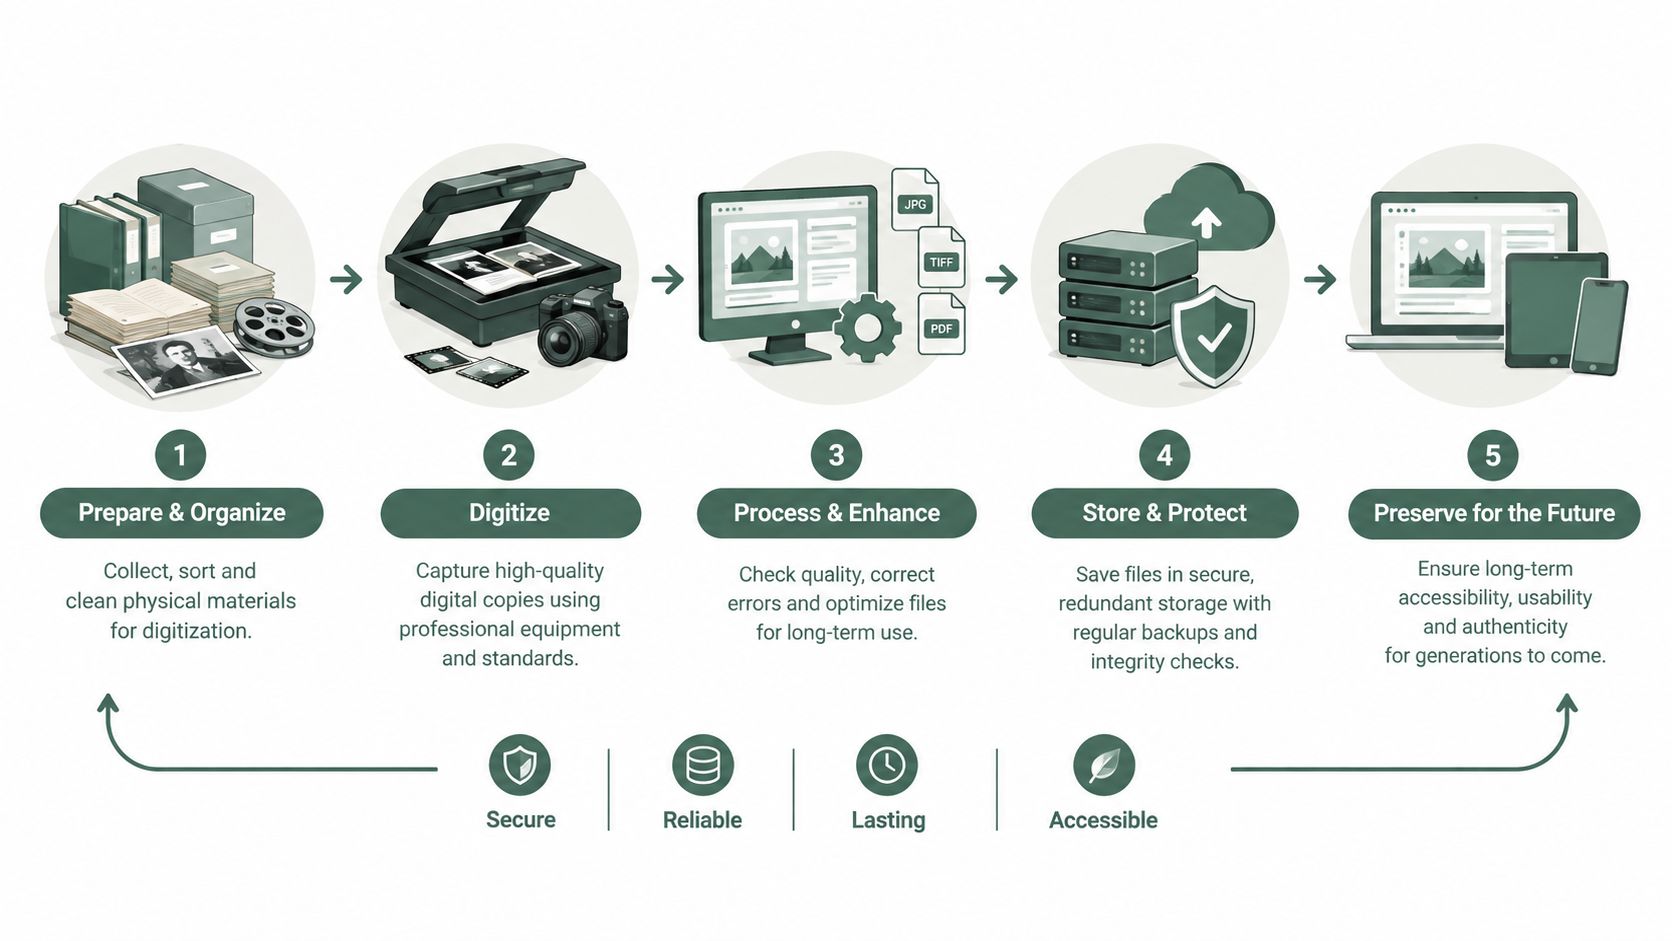
Work in a clean area with stable lighting. Scan pages flat when their condition allows, capture both sides when anything appears on the back, and include envelopes, folders, and attachments. Keep a high-quality master file, then create smaller access copies for email or family sharing. For photographs, preserve the full frame before cropping or correcting color.
Choose files for preservation and access
Use a lossless or minimally processed master when your equipment and workflow support it. PDFs are convenient for multi-page reading copies, while image files are often easier to inspect, edit, and reuse for photographs or individual pages. The key decision isn't the extension alone. It is whether you retain an untouched master, document the scan date and equipment, and keep the file connected to its catalog record.
Name files consistently and include the identifier in the filename. Add metadata in the catalog rather than relying only on a cloud service's search labels. Services change, accounts close, and exported files may lose informal tags.
The National Digital Information Infrastructure and Preservation Program document cites a survey in which 57 percent of people reported backing up their data. That figure illustrates the risk of relying on one device or account. A scanned certificate stored only on a laptop is still vulnerable to theft, failure, accidental deletion, ransomware, or format problems.
Backup principle: The archive isn't protected until you can lose one storage location and still recover the files.
Apply the 3-2-1 rule
The U.S. National Archives recommends the 3-2-1 rule, meaning three copies, on two different media, with one copy stored off-site. One practical arrangement is a working archive on a computer, a copy on an external drive, and another copy in a reputable cloud service or at a different physical location. Keep the external drive disconnected when you aren't updating it, which limits exposure to some types of malware.
Test recovery instead of assuming that copying succeeded. Open representative files from each location, confirm that filenames and metadata remain intact, and replace failing media. A backup that can't be opened is only a comforting idea.
For a visual walk-through, this video can help you think through the sequence before you start:
The guide to digitizing old photos offers further practical help for preparing images and preserving useful copies. Don't scan fragile originals through equipment that could bend or jam them. If a document is oversized, bound, heavily damaged, or valuable, use a professional scanning service or a camera-based setup that avoids pressure.
Creating a Sustainable Preservation System
A sustainable archive has an owner, a routine, and clear rules. Without those three elements, a careful digitization project gradually becomes a folder nobody updates and boxes nobody checks.
For the physical collection, use acid-free folders and boxes, keep materials off the floor, and choose a clean, dark, secure interior space away from pipes and windows. Museum and archives guidance recommends a controlled environment of roughly 20°C, or 68°F, plus or minus 2°, and 45% relative humidity, plus or minus 2%, with storage and exhibit lighting around 50 to 100 lux. These targets are summarized in the National Park Service preservation guidance.
Control the room rather than trusting comfort
An attic, basement, shed, or garage exposes paper to temperature and humidity changes that a person may barely notice. The same guidance warns that relative humidity above about 65 percent materially increases mold risk. Repeated fluctuations also accelerate deterioration in paper, ink, and leather.
A small hygrometer can reveal whether the chosen storage room is stable. Don't place documents directly against an outside wall, beneath plumbing, or beside a radiator. If conditions are poor, moving the collection to a more stable room is usually more effective than buying containers and leaving them in a damaging environment.
Give the digital archive a maintenance calendar
Review the digital collection at regular intervals that fit your household. Check whether the backups open, whether the cloud account remains accessible, whether the external drive is healthy, and whether new files follow the naming system. Keep a short written recovery note with the archive location, account instructions, and the person responsible for updates, but don't store passwords in an unsecured spreadsheet.
Access should match sensitivity. Family photographs and historical letters may be broadly shareable, while medical, financial, and identity documents require restricted folders, strong passwords, encryption, and explicit consent. Independent privacy guidance recommends separate access levels, checking cloud-provider policies, avoiding public networks, and shredding discarded physical copies after digitization. That advice appears in practical guidance on creating a family digital archive.
The best system balances protection with use. If every item is locked away so nobody can read it, the archive loses its family purpose. If everything is public, living relatives may lose control over sensitive information.
Engaging Your Family in Preservation
A family archive needs more than one knowledgeable caretaker. If the collection depends on a single person, illness, relocation, or a forgotten password can interrupt access just when relatives need it most. Shared responsibility also improves accuracy because different family members remember different faces, places, and stories.
Invite relatives to contribute in ways that suit their abilities. One person may scan, another may identify people in photographs, and someone else may know why a legal paper mattered. Younger relatives can help with file organization or recordings, while older relatives can supply names, pronunciation, memories, and corrections that no database can infer.
Make participation specific
Asking someone to “help with the archive” is too vague. Give them a defined task:
- Identify photographs: Ask for names, approximate relationships, locations, and the reason an image may have been taken.
- Review descriptions: Share a small group of catalog entries and invite corrections without changing the original scan.
- Record memories: Pair a document with a conversation about the event, person, or place behind it.
- Approve access: Let close relatives decide which sensitive materials can be shared and with whom.
Consent matters, especially when records mention living people. Don't publish addresses, medical information, financial details, or identity documents just because they're historically interesting. Create a private working archive and a separate family-facing collection with access rules everyone understands.
Turn documents into conversations
A certificate becomes more meaningful when someone explains where it was kept, who relied on it, or what changed afterward. Record those explanations while the people who know them can still speak. The oral history interview guide can help you prepare respectful prompts and preserve spoken context alongside scans and photographs.
Share progress in small, visible ways. A digital album about one household, a printed copy of a letter, or a family gathering around a photograph gives relatives a reason to participate. Avoid presenting the archive as a technical project that needs perfect completion. Its value grows when people can find an item, understand its story, and add knowledge for the next generation.
When the archive is ready, tell relatives where it lives, who maintains it, how access works, and what should happen if the primary custodian can no longer manage it. That conversation turns preservation from a private task into a durable family agreement.
remembers.life lets families create a memory profile with written stories, photographs, video clips, and voice recordings arranged on a timeline, while its family room allows invited relatives to contribute to linked profiles. Visit remembers.life to connect preserved documents with the memories and people that give them meaning.